


Today, we are going to see, how one can setup and practice vulnerabilty assessment on their own system. For this, we will be using Nessus from **tenable.**
When one visits the official website, there one can see that it has three versions:
Essentials
Professionals
Expert
For our lab, we will be using Nessus essentials, as it is the free version. One can also try other versions (if they wish to).
I will be using my Kali Linux as the host to setup Nessus on. One can also use other OS like Windows or Mac.
So in kali, we will go to the download page where one needs to enter some details along with the email id, in order to recieve the free registration key.
Once entered, you will be redirected to the download page, where one can download the file for their system.
They also have an option to download the iso file and set it up as a separate machine. But we will stick to the software file for our kali linux.
Once downloaded, now its time to switch to our terminal and install the downloaded file.
There one can install it by:
cd /Downloads
dpkg -i <pkg_name>
As I have downloaded it in my Downloads directory, so I navigated to that directory and there I used dpkg to install.
Once installed, it will show:

After running the specified cmd, one needs to visit kali:8834 . There it may prompt the Warning page:

Ignore it and proceed ahead.
We will use the essentials version with the registration key we got earlier.
Once it completes downloading, it will bring you to the dashboard:
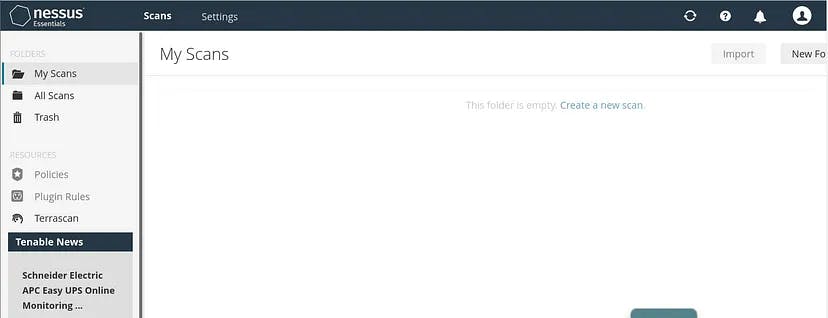
Since, we have done a fresh installation, so we have nothing here.
Its time to create our first scan.
At the right most corner, it has an option of New Scan where we will create our first scan.
It has many different scan options:
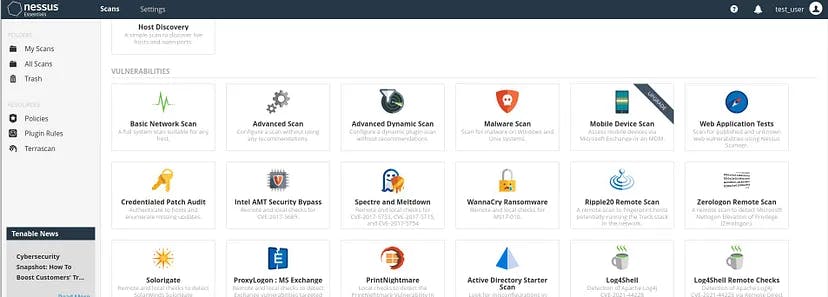
For this article, we will proceed with a Basic Network Scan.
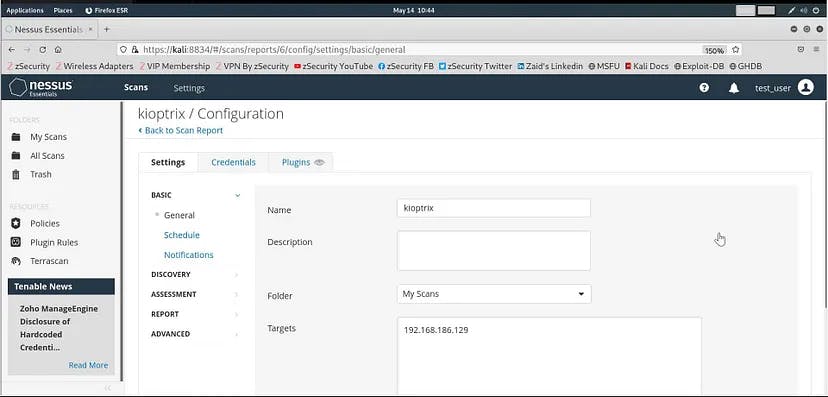
I have already setup an intentionally vulnerable machine for testing purpose named kioptrix. It is an old, basic CTF machine having vulnerabilities.
So, we gave the name to our scan and provided the target IP to scan for.
One can configure a lot more options, but for this demo, we will keep all other things at their default state and save the configurations.
Once the save is confirmed, then one needs to start the scan and it will scan the target IP for the possible vulnerabilities.
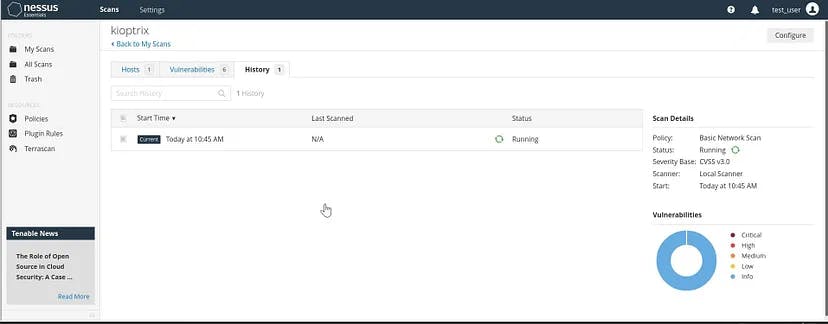
In the right corner, it indicates the findings. It will take some time to scan.
Once the scan is completed, it will show the outputs:
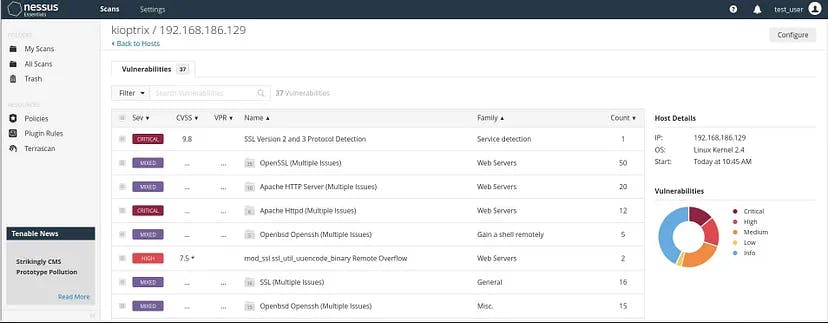
As one can clearly see that Nessus has detected vulnerabities and divided it according to the cvss score.
On opening further, one can get the details of the vulnerability detected:
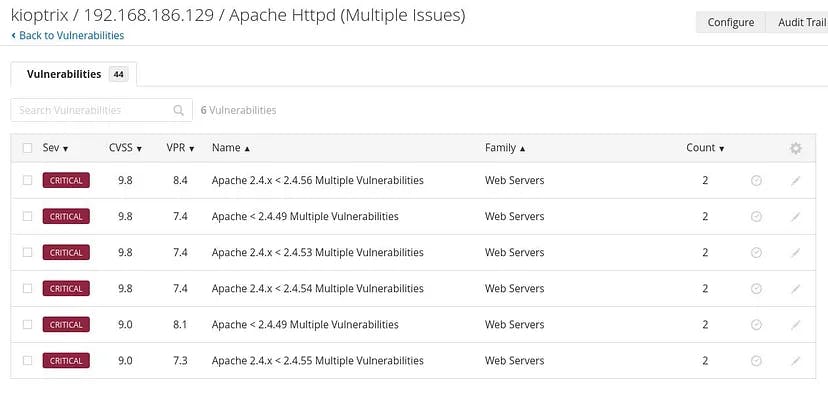
We can see that Nessus has detected multiple Https based issues in the version of Apache installed.
On getting further inside:
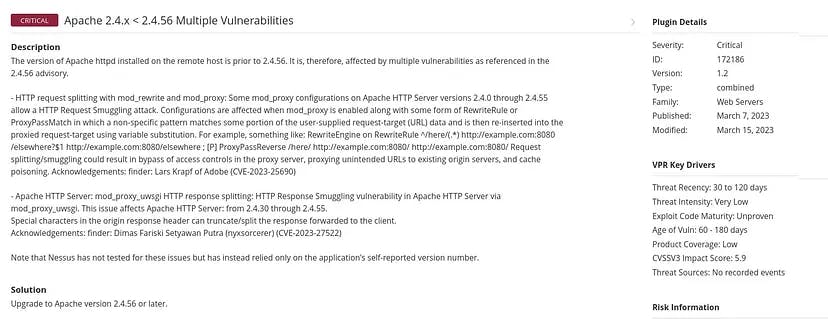
It has proper description about the detected vulnerability along with the possible remediation steps.
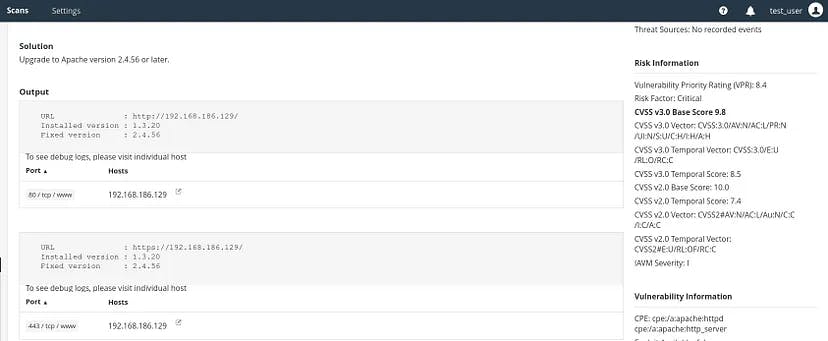
In the right corner, it has the Risk Information where it lists the CVSS information for further references.
In this way, one can scan the target machines and go through the various possible scan options for the target (according to one’s requirements).
Note: The essential version has limitations for the number of the targets which can be scanned for free.
One can easily bypass this by making another account using temp mail.
Nessus has lot more functionalities, like one can export the scan results and then integrate it into other tools.
Whatever demonstrated here is just the tip of iceberg. A lot more is there to be explored.
So this was the lab which one can easily setup on their own system and practice vulnerability scanning.
Hope you got to learn something from this article. Follow for more such learnings!